
In this tutorial we will explore multiple ways of how to take a screenshot using Python.
Table of contents
- Introduction
- Take screenshot with pyautogui
- Take screenshot with PIL
- Take screenshot of multiple monitors with mss
- Conclusion
Introduction
We often take screenshots while using our computers. Both Windows and Mac have functionality to do this easily.
But let’s say you wanted to automate this process and maybe take screenshots automatically every 5 minutes or ever hour. Doing it manually would take a lot of your time and would require you to be present at your computer at each time interval.
Using Python we can easily automate this task and there are several libraries that support this functionality.
To continue following this tutorial please open “Command Prompt” (on Windows) and install the following libraries
pip install pyautogui
pip install pillow
pip install mss
Take screenshot with pyauogui in Python
This option is probably the fastest and the most convenient if you are working with a single monitor and would like to take a screenshot of the full screen. Alternatively it is also a good option if you know the coordinates of the “box” you want to screenshot.
Begin with importing the pyautogui library:
import pyautogui
Then call the .screenshot() method, which will return and Image object. And simply save it using any filename that works for you:
myscreen = pyautogui.screenshot()
myscreen.save('myscreen.png')
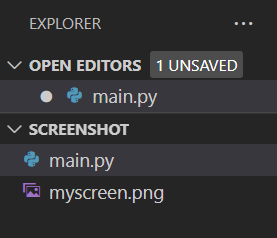
And you should get a .png file in the same directory as your Python code.
Below is an example of what my screenshot looks like:

A few seconds after you run the code, the .png file will appear in the directory:
Take screenshot with PIL in Python
PIL is one of the most famous Python libraries for working with images and is widely used for image processing.
It is not a surprise to expect the screenshot functionality included in it as well. Similarly to the pyautogui solution, PIL allows to take a screenshot using Python in three lines of code as well.
Begin with importing ImageGrab module from PIL library:
from PIL import ImageGrab
Then call the .grab() method, which will return and Image object. And simply save it using any filename that works for you:
myscreen = ImageGrab.grab()
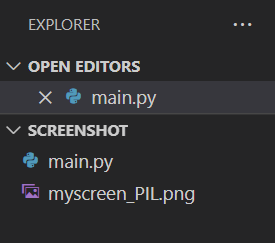
myscreen.save('myscreen_PIL.png')

A few seconds after you run the code, the .png file will appear in the directory:
Take screenshot of multiple monitors with mss in Python
In the previous sections we considered taking screenshots of single screens. Now, what if you have two monitors and you want to take screenshots of both?
Python has an amazing library mss, which allows you to easily do that in a few steps.
Begin with importing the library:
from mss import mss
Now, to take a screenshot of the current working screen you can simply use:
mss().shot()
In case of multiple screens and all you need to do is put the above code into a loop and add a mon parameter:
for i in range(1,3):
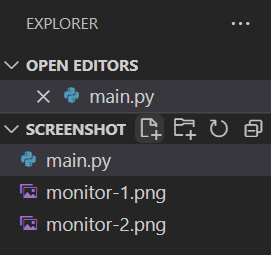
mss().shot(mon=i)

and

A few seconds after you run the code, the two .png files will appear in the directory:
Conclusion
In this article we discussed how to automate taking screenshots using several libraries in Python.
Feel free to leave comments below if you have any questions or have suggestions for some edits and check out more of my Python Programming articles.