In this tutorial we will discuss how to containerize a Flask application using Docker.
Table of contents
- Introduction
- Create a simple Flask application
- Create a file with dependencies
- Install Docker
- Create a Docker file
- Build a Docker image
- Run the Docker container
- Conclusion
Introduction
Docker and containerization is one of the biggest trends in MLOps and deployment. There are significant advantages of containerization of applications.
One of the biggest advantages of Docker is the ability to run the application in an isolated environment called a container.
Docker containers are very easy to share either via Docker Hub or a Git Hub repository, which eases up the communication and helps collaborative work on projects.
Create a simple Flask application
To get started, we will create a very simple Flask application with just one page that will say “Hello World!”.
To continue in this section, we will need the Flask library installed.
If you don’t have it installed, please open “Command Prompt” (on Windows) and install it using the following code:
pip install Flask
Once the installation is complete, let’s create a separate folder for our project and call it “Docker Flask” (you can choose any name). In this folder create a subfolder and call it “src” (we will use it as a dedicated isolated directory for the source code).
I do most of my work in VS Code which is a free IDE made by Microsoft. I encourage you to download and use it for this project as it will be much easier to navigate through the folder architecture (and it’s just generally good to use for all projects).
Now that we have our folders created, let’s make the first Python file (inside “src” folder) and call it app.py. This file will include the following Flask code:
from flask import Flask
app = Flask(__name__)

@app.route('/')
def hello():
    return 'Hello World!'

if __name__ == '__main__':
   app.run(host='0.0.0.0', port=80)
Important: if you want to test run the app locally, you should have app.run() but when we are looking to containerize the application we switch it to app.run(host=’0.0.0.0′, port=80) because the local port 127.0.0.1 can’t be captured inside a Docker container and Flask also uses port 5000 by default, so we switch it to port 80.
As you can see, this is a very simple one page app (don’t forget to save the code (Ctrl + S)).
So far your file architecture should look like the following:
Docker Flask
└─── src
└─── app.py
Perfect, so we have our Flask app ready. Now let’s dive into Docker!
Create a file with dependencies
Recall that we installed Flask locally on our computer in order to run the app locally.
Now out goal is to have this Flask app running as a standalone and allow Docker to assemble a container from the source code.
In simple words, we need to let Docker know that we are using the Flask library and that it needs to be a part of the environment.
As a next step, we will create a blank requirements.txt file in the Docker Flask folder (the main folder). And then add the dependencies to it.
In the case of the simple Flask app, our only requirement is the Flask library. We just need to find the version of the package and then add it to the file.
To find the version of the Flask you have installed, simply run the following code in Command Prompt:
Flask --version
And you should get:
Python 3.7.4
Flask 1.1.2
Werkzeug 1.0.1
The version I have installed is 1.1.2, so we go ahead and add Flask==1.1.2 to the requirements.txt file.
If you are using VS Code and open the requirements.txt file, you should have it like this:

At this point your file architecture should look like the following:
Docker flask
├─── requirements.txt
└─── src
└─── app.py
Okay, now we are ready to begin containerizing our Flask app!
Install Docker
To follow the remaining parts we will need to install Docker Desktop to be able to manage containerized environments locally.
Follow a simple installation guide (it may require you to restart the computer) and the setup should be ready to use.
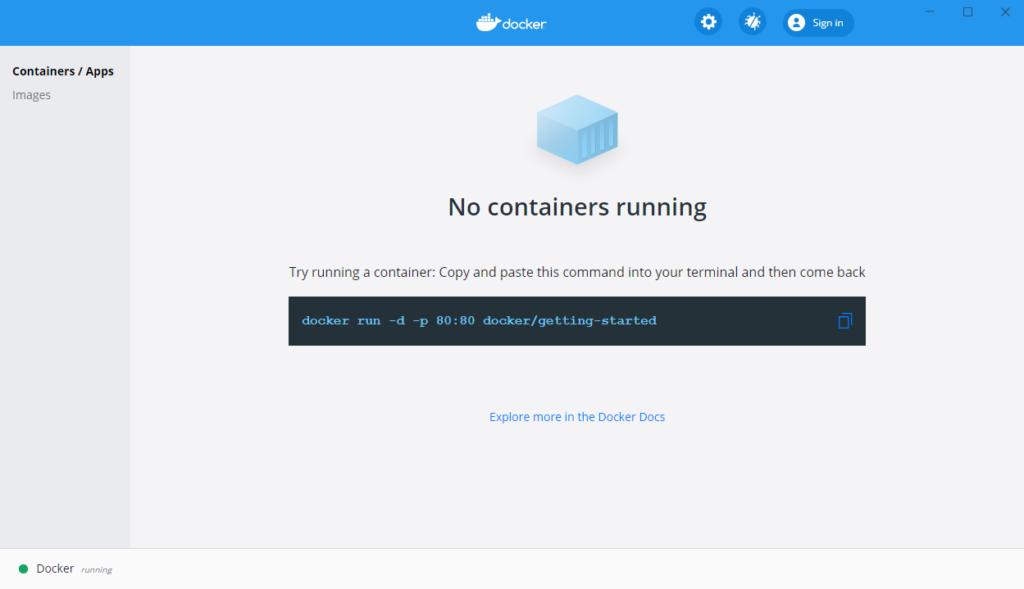
Go ahead and open Docker Desktop on your computer.
You should see the following:
Create a Dockerfile
Docker builds images automatically by reading instructions from a Dockerfile. A Dockerfile is basically a text file that contains all of the instructions (commands) to be executed by Docker to create a Docker image.
Sounds like a lot of confusing information? Don’t worry about it, let me explain in simpler terms.
Basically when we want Docker to containerize our Flask app, we need to tell it everything that needs to be done, from what software we use, to where the locations of the code are, and so on.
To do that efficiently, we create a set of instructions (similar to the ones you have when assembling a computer or something else) and we tell Docker to reference this file and perform the required actions.
Dockerfile doesn’t have an extention and is just called “Dockerfile”. This is also one of the reasons why I encourage you to use VS Code, since it supports all of these new technologies and will recognize the Dockerfile by its name.
So what we are going to do first is create an empty file (in the Docker Flask folder) and just call it “Dockerfile”. If you are using VS Code, your file structure at this point should look like this:
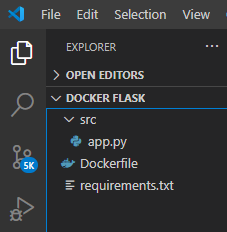
You will notice that VS code recognizes the file and automatically creates a “whale” icon next to it (you may have to install the Docker add-on in VS Code).
Now let’s configure the Docker file!
This is a part with a little more information than others, I will try to explain it in detail, but if you still have questions, there are a lot of great articles online explaining how to create Dockerfiles.
#Download Python from DockerHub and use it
FROM python:3.7.4

#Set the working directory in the Docker container
WORKDIR /code

#Copy the dependencies file to the working directory
COPY requirements.txt .

#Install the dependencies
RUN pip install -r requirements.txt

#Copy the Flask app code to the working directory
COPY src/ .

#Run the container
CMD [ "python", "./app.py" ]
Each line in the above Dockerfile is commented and hopefully the procedure makes sense. The Dockerfile is now configured with a set of processes that will be executed when we are building our Docker image.
Build a Docker image
As the next step what we are going to do is actually build the Docker image from a Dockerfile we just created.
A Docker image is a template with instructions for creating a Docker container and a Docker container is a runnable instance of an image.
The rest of the Docker functions should be run from terminal. If you are using VS Code, your terminal interface is readily available in the directory with the files.
If you decide to run it using Command Prompt, first you should navigate to the “Docker Flask” folder using /cd commands, and only then execute the below code.
To build a Docker image, we will use the docker build command:
docker build -t flask-image .
Here, flask-image is the name I came up for the Docker image that we will build (why we are using -t because we are setting a project tag).
The Docker daemon will execute the instructions in the Dockerfile one-by-one. There are multiple steps, and Docker will show you progress on each of them.
Once this step is complete, the Docker image is created. We can see a list of Docker images available by running the docker images command:
docker images
And we see:
REPOSITORY    TAG       IMAGE ID       CREATED        SIZE
flask-image   latest    a7b8af8c82ec   2 minutes ago  927MB
At this point we did most of the work to containerize a Flask application using Docker. Now let’s run the container and look at our Flask application!
Run the Docker container
After creating the Dockerfile and building the Docker image from it, we can now run the Docker container with our Flask app.
To start the Docker container we use the docker run command:
docker run -d -p 80:80 flask-image
A few key notes:
- we use -d (-detatch) to run the container in the background
- we use -p (-publish) to publish the container’s port to the host
- we map 80:80 as container port 80 to local machine port 80
At this point the container should be up and running. You can get a list of containers and their status using the docker ps command:
docker ps
And you should get:
CONTAINER ID    IMAGE         COMMAND             CREATED
b6709c1ba42b    flask-image   "python ./app.py"   12 minutes ago
STATUS          PORTS                NAMES
Up 12 minutes   0.0.0.0:80->80/tcp   nifty_jang
So the container is running and you can access it on your local machine by going to http://127.0.0.1/ or http://localhost:80/ and you should see your “Hello World!” Flask app.
Conclusion
In this tutorial we discussed how to containerize a Flask application using Docker.
The examples shown are a good starting point for anyone looking to learn more about Docker and deploy your own applications.
I also encourage you to check out my other posts on Python Programming.
Feel free to leave comments below if you have any questions or have suggestions for some edits.
Great article, thank you very much! One question, though: if I develop my Flask app locally using virtualenv, is it OK to ignore the env folder?
Thank you!
Thank you for your comment!
I haven’t tried this approach with virtual environments. If you want to have Docker activate and run a virtual environment, the code will be different. But if you can have requirements.txt and app.py (for example) in the main folder after you finished building it, then the current code will work.
In case you would like to activate a virtual environment in a Dockerfile, here is a great article explaining it: https://pythonspeed.com/articles/activate-virtualenv-dockerfile/